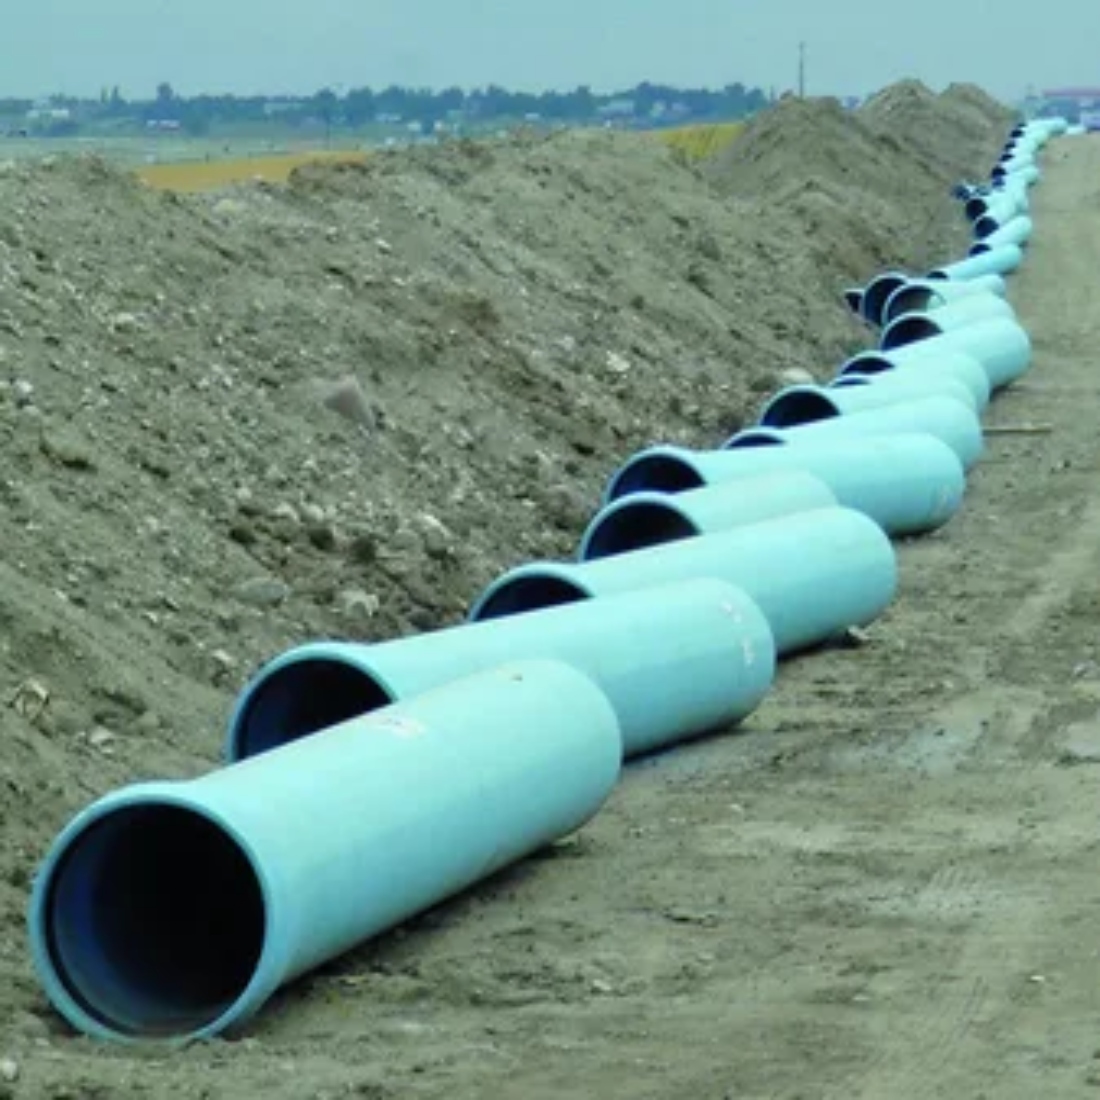
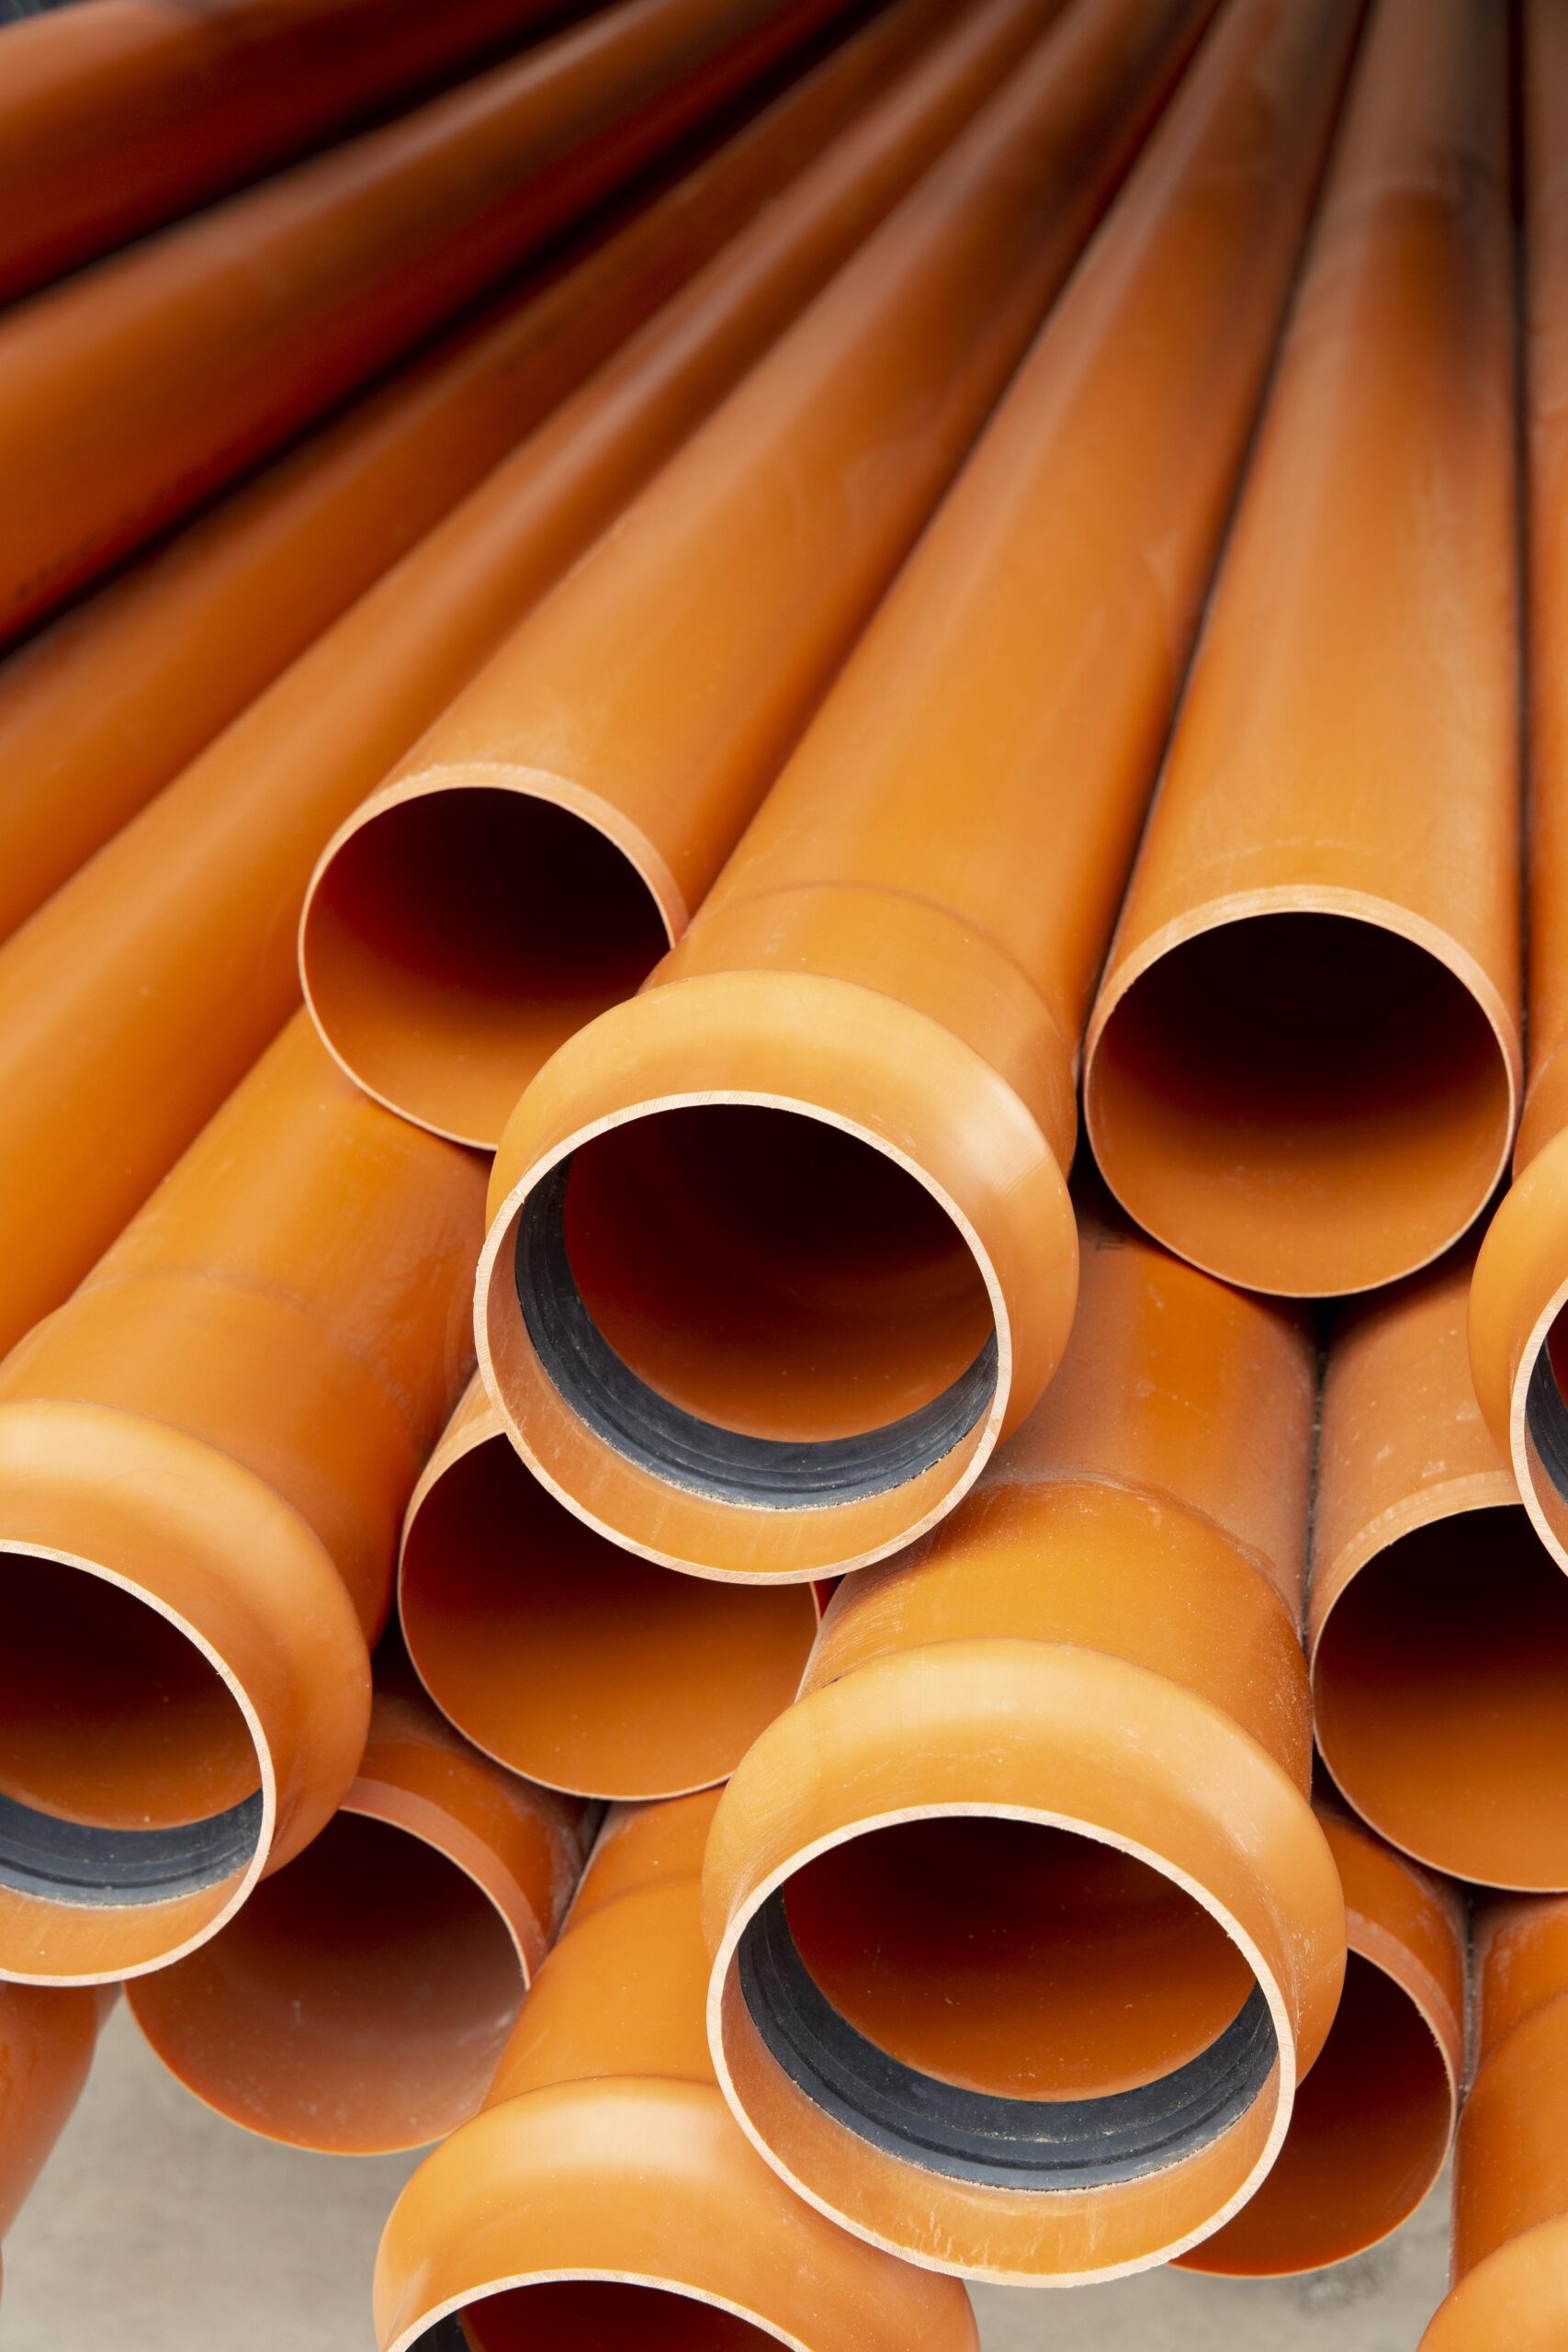
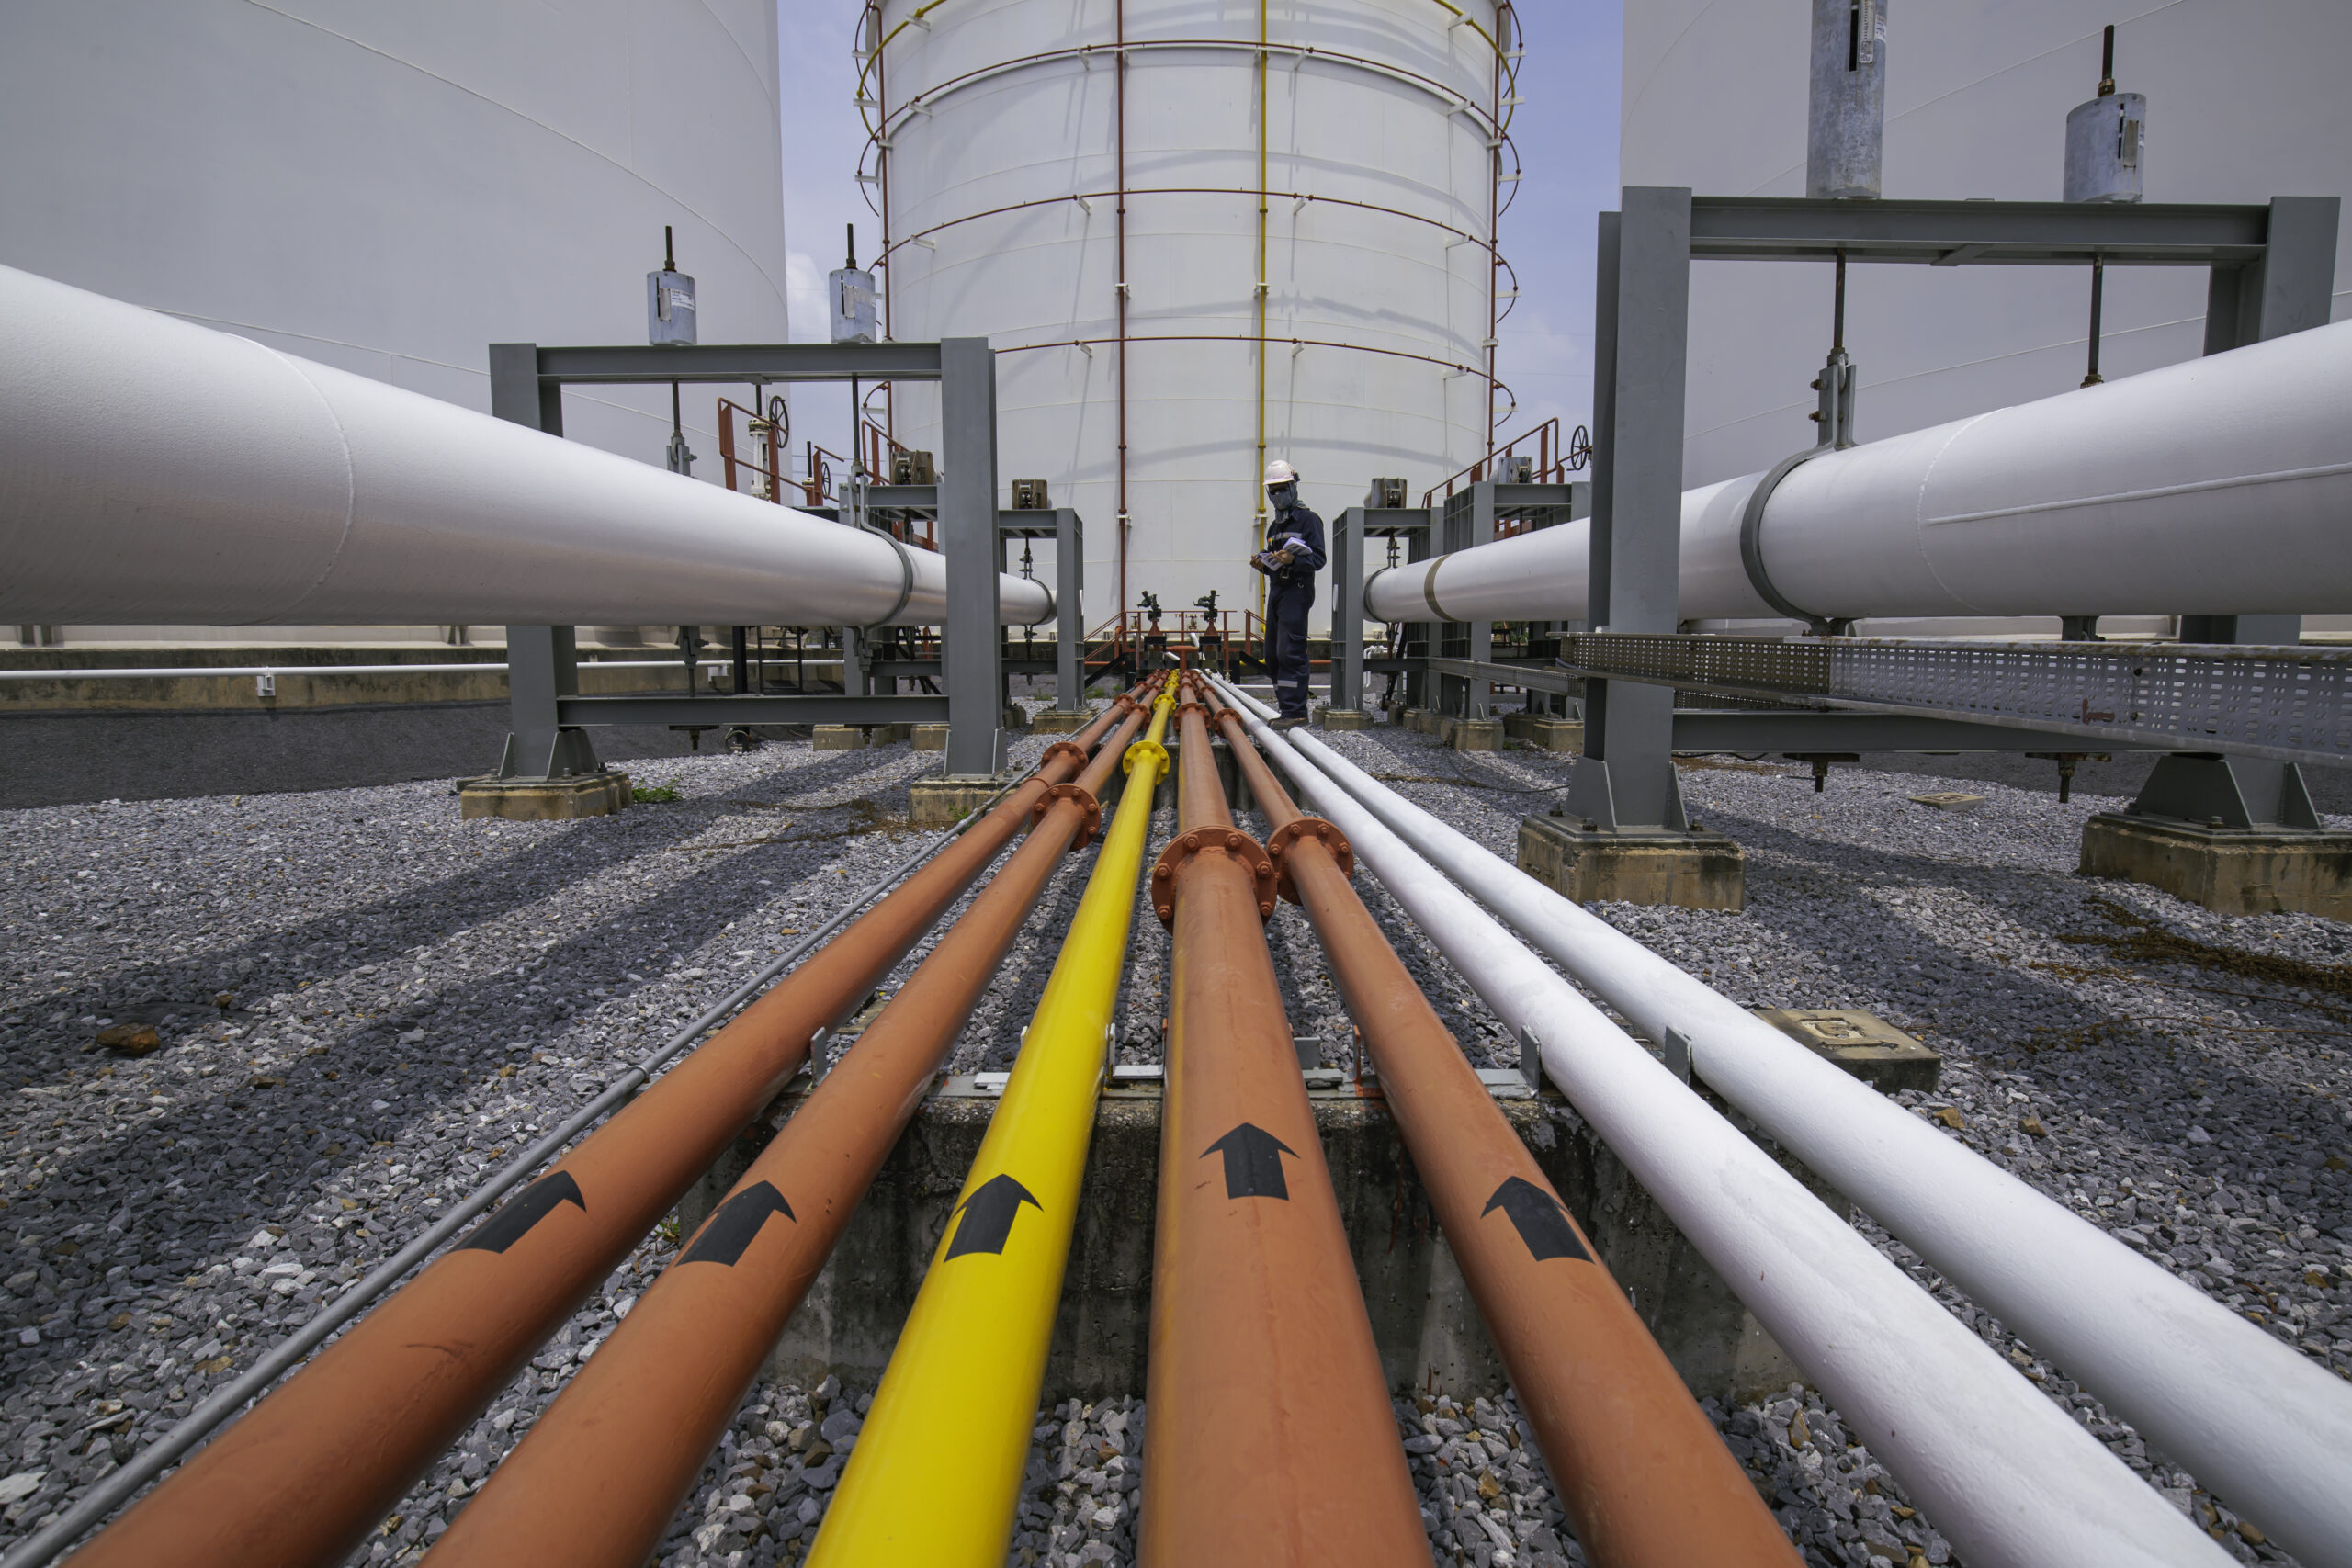
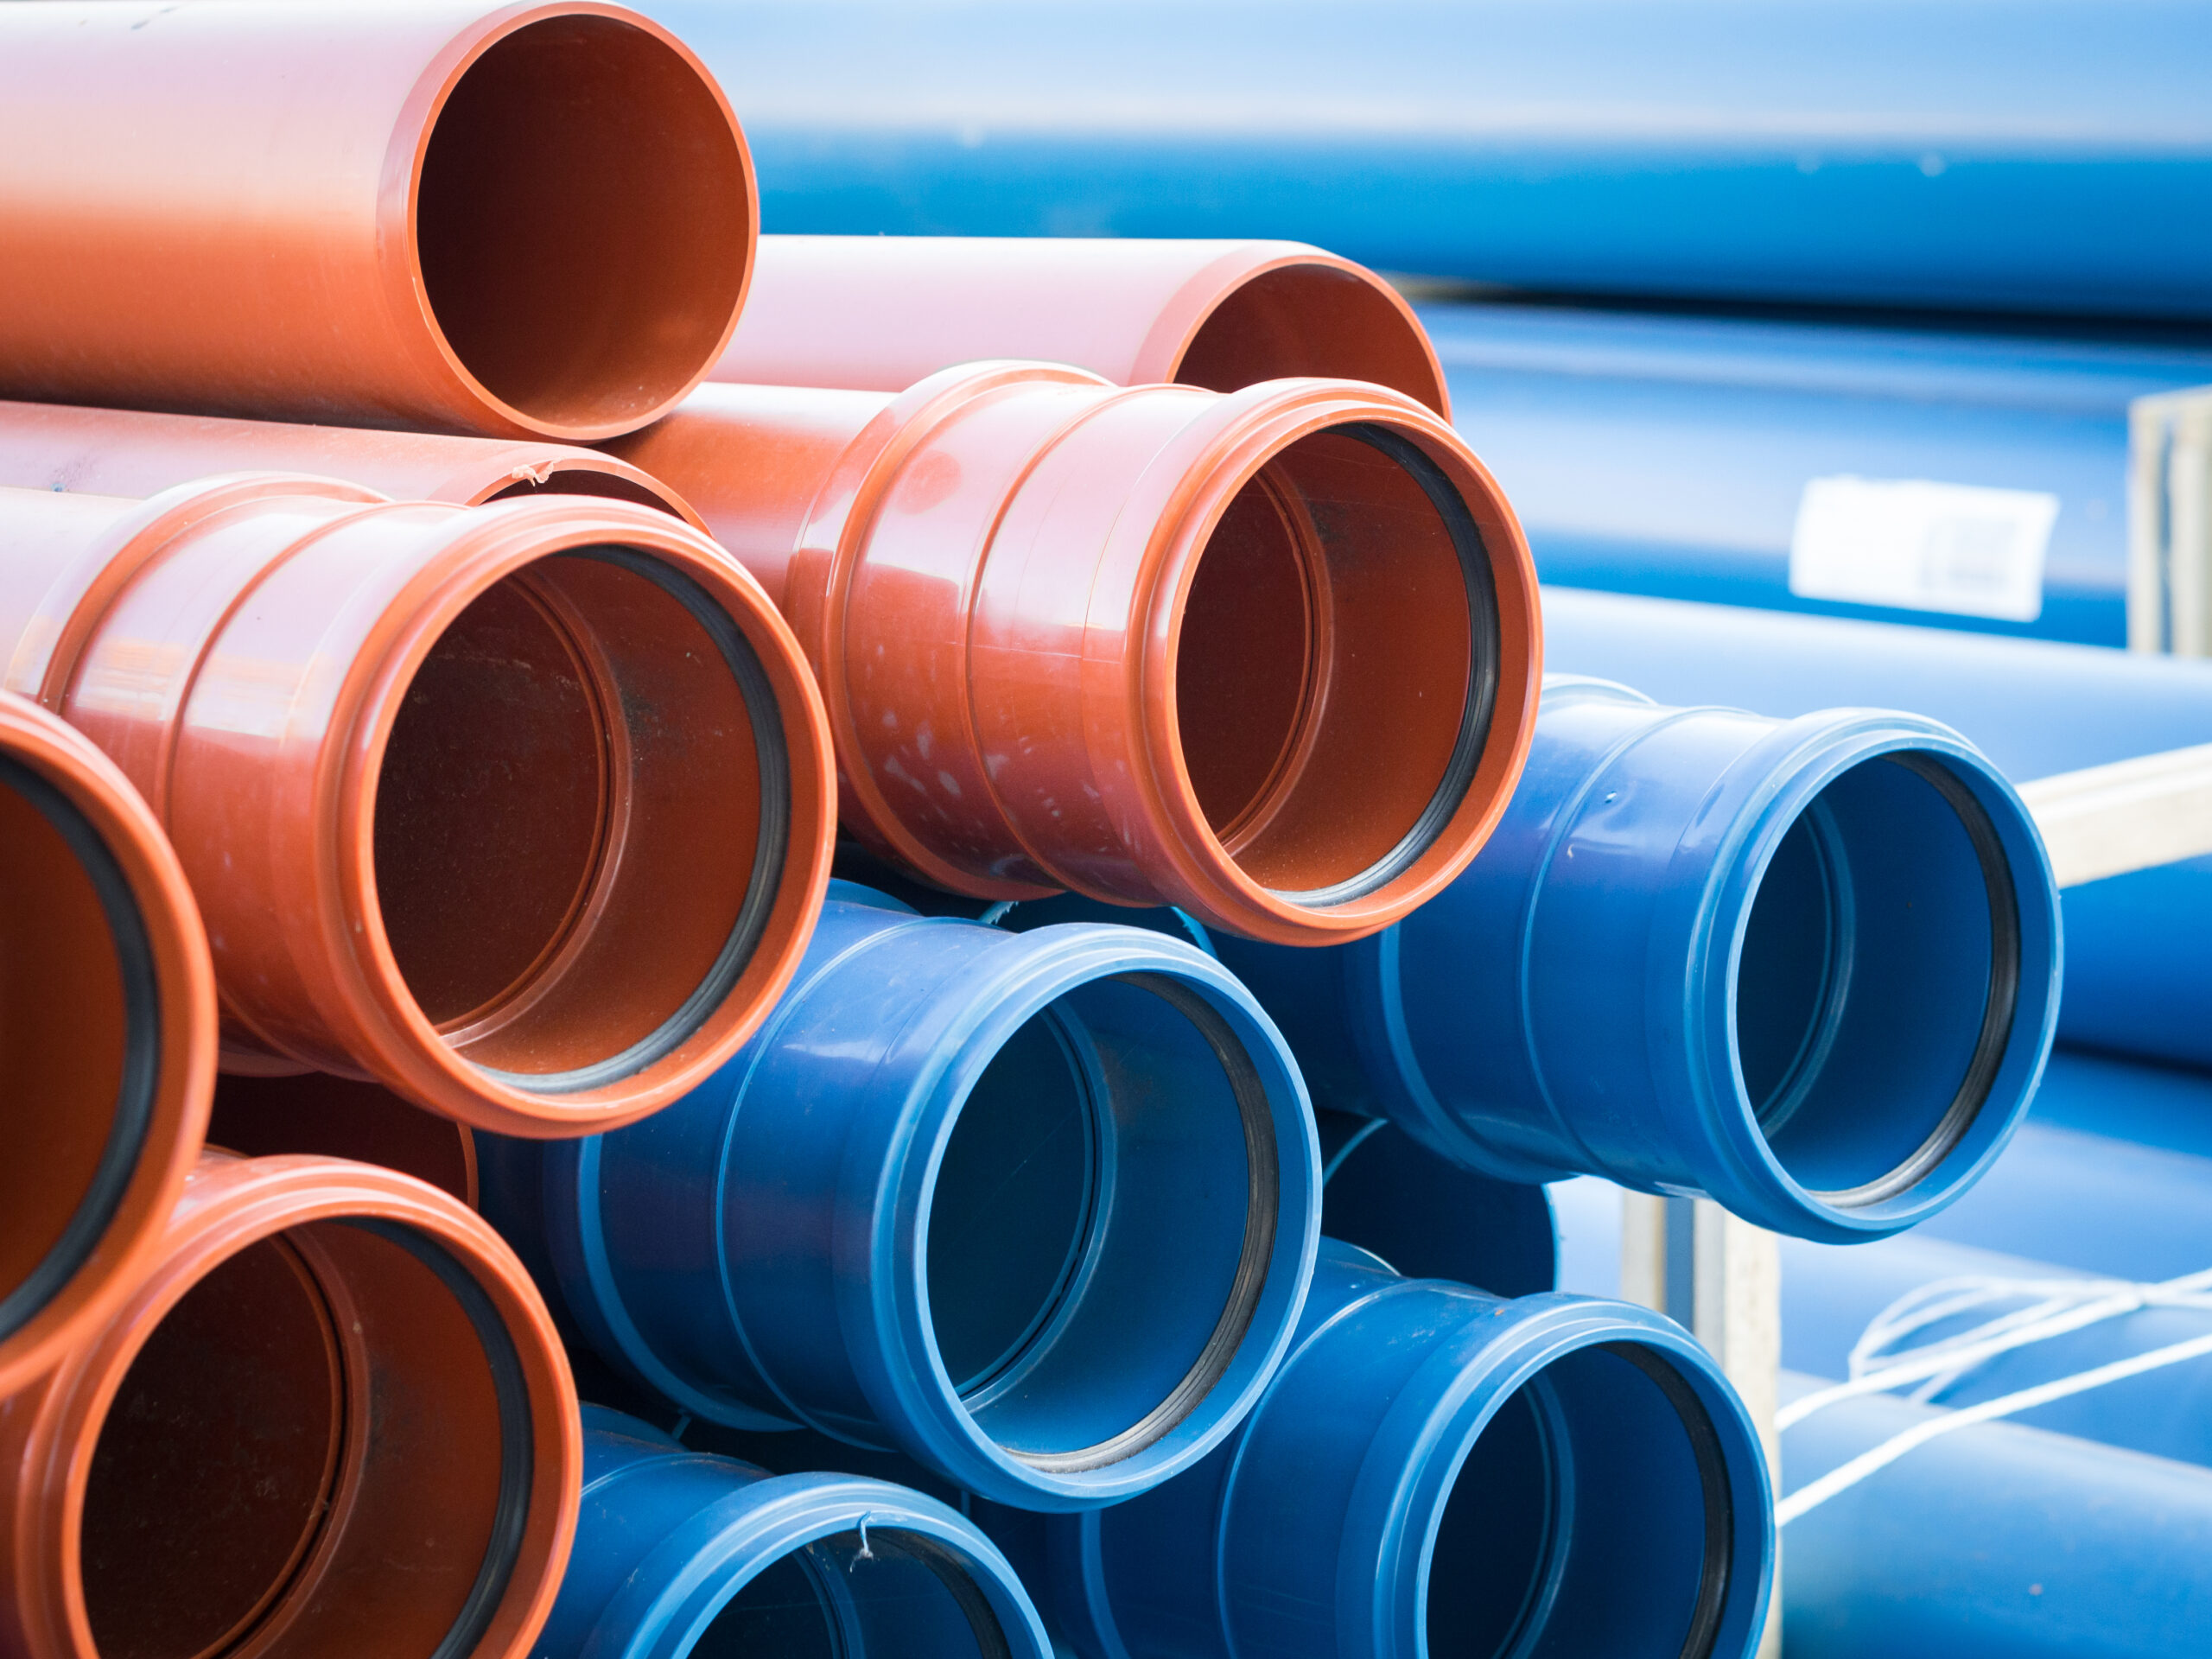
The thermoplastic pipe liner is a cost-effective solution for repairing damaged pipes without the need for excavation in the pipeline industries.
The liner is made of a flexible material that is molded to fit the interior of the damaged line, creating a new pipe within the old one. The installation process is relatively simple and can be completed in a matter of hours, making it a convenient option for many property owners.
If a moldable plastic pipe is installed correctly, it can last for decades without needing repairs or replacement. However, some essential vital points must be considered when installing or maintaining thermoplastic liners for them to work properly.
See our blog: How To Choose HDPE PipeLine Material?
Step By Step Process Of Thermoplastic Pipe Liner Installation
The installation process is relatively simple and can be completed in a matter of hours, making it a convenient option for many property owners. Here are steps to install thermoplastic pipe liners without any hassle.
Step 1: Cleaning the Pipe
Before the thermoplastic liner can be installed, the damaged pipe must be cleaned. This step ensures a proper bond between the liner and the existing line. The cleaning process typically involves high-pressure water or a specialized cleaning solution to remove debris, corrosion, or buildup inside the pipe.
Step 2: Measuring the Pipe
Once the pipe has been cleaned, it must be measured to determine the appropriate size of the liner. This step is essential because the liner must fit snugly against the pipe’s interior to create a solid and durable bond. The measurement process typically involves using a laser or similar device to determine the exact dimensions of the line.
Step 3: Preparing the Liner
Once the pipe has been measured, the thermoplastic liner can be prepared for installation. This step involves heating the liner until it becomes pliable, then molding it to the appropriate shape. The liner must be molded to fit the exact dimensions of the damaged pipe to ensure a proper fit.
Step 4: Inserting the Liner
Once the liner has been molded to the appropriate shape, it can be inserted into the damaged pipe. This step typically involves using an air bladder or similar device to push the liner through the pipe. The liner should be inserted slowly and carefully to avoid damaging it during installation.
Step 5: Inflating the Liner
Once the liner has been inserted into the damaged pipe, it must be inflated to ensure proper placement and a tight fit. This step typically involves using an air compressor or similar device to inflate the liner until it is snug against the pipe’s interior.
Step 6: Curing the Liner
After the liner has been inflated, it must be cured to harden and bond with the existing pipe. This step typically involves using hot water or a specialized curing solution to activate the curing process. The curing time will vary depending on the type of liner used and the installation conditions.
Step 7: Inspecting the Liner
Once the liner has been cured, it must be inspected to ensure that it has been properly installed and is functioning as intended. This step typically involves using a camera or similar device to inspect the pipe’s interior and verify that the liner is bonded correctly to the existing line.
Step 8: Finalizing the Installation
Once the liner has been inspected and functioning properly, the installation process is complete. The final step typically involves cleaning the worksite and restoring the area to its original condition.
Thermoplastic Pipe Liner Maintenance
While the liner is designed to last for many years, regular maintenance is still necessary to ensure it continues functioning properly.
Regular Inspection
The first step in maintaining a thermoplastic pipe liner is to inspect it regularly. This step is crucial because it allows property owners to identify any issues with the liner before they become more serious. Regular inspections can be performed using a camera or similar device to inspect the interior of the pipe.
Cleaning the pipe regularly
Cleaning the pipe is another crucial step in maintaining a thermoplastic pipe liner. This step is necessary because debris, pipeline corrosion, or buildup inside the pipe can cause the liner to become damaged or dislodged. The pipe can be cleaned using high-pressure water or a specialized cleaning solution.
Repairing Damage if occurs
If any damage is found during the inspection process, it must be repaired promptly to ensure the liner continues functioning properly. This step may involve patching small holes or tears in the liner or replacing it entirely if it is severely damaged.
Monitoring Water Flow
Monitoring water flow is another important step in maintaining a thermoplastic pipe liner. This step is necessary because changes in water flow can indicate that the liner is becoming damaged or clogged. Property owners should monitor water flow regularly and take action if they notice any changes.
Protecting the Liner
Protecting the thermoplastic pipe liner is another important step in maintaining it. This step involves avoiding activities that can cause damage to the liner, such as using harsh chemicals or inserting objects into a pipe that is too large.
Property owners should also avoid exposing the liner to extreme temperatures, as this can cause it to become brittle and crack.
Professional Maintenance
Finally, professional maintenance is recommended for thermoplastic pipe liner to ensure it continues functioning properly. This step involves having a professional plumber inspect the liner and perform necessary repairs or maintenance.
Professional maintenance should be performed at least once a year to ensure that the liner is functioning properly and to identify any issues before they become serious.
Read a complete guide to welding joints and parts.
Final Words
In conclusion, the thermoplastic pipe liner installation process is relatively simple and can be completed in a matter of hours. The key to a successful installation is proper preparation, including cleaning the damaged pipe and ensuring that the liner is molded to the appropriate shape and size.
Following these steps, property owners can repair damaged pipes quickly and cost-effectively without excavation. If you have any questions or concerns about installing your new liner, don’t hesitate to get in touch with us today!
